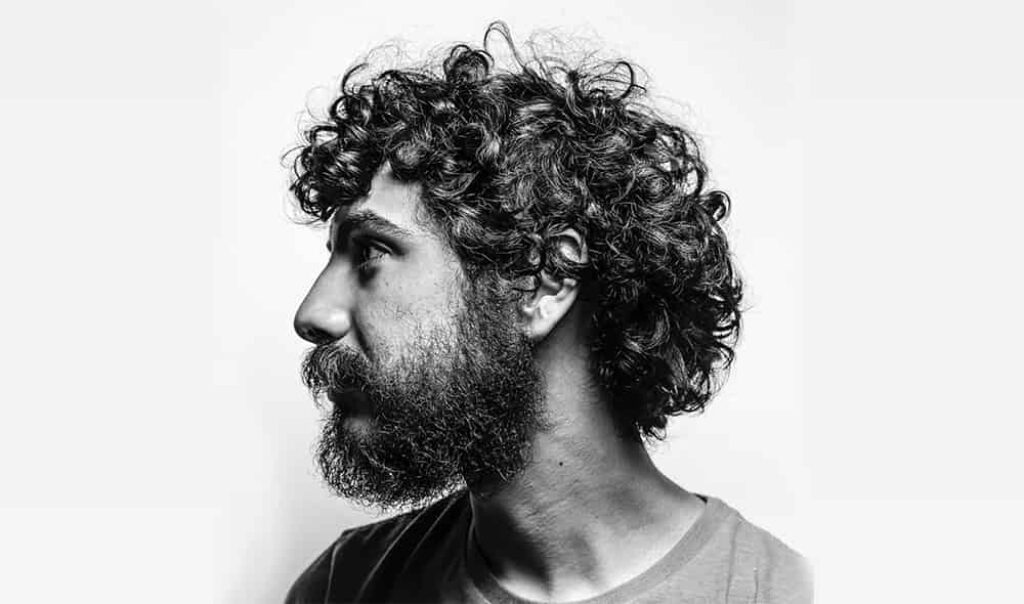
How to Edit Portraits: The Step-By-Step Guide
Even for experienced photographers, editing portrait shots may be a difficult undertaking. But, if you want your photographs to appear classy and professional, it is an essential talent to possess. Learning how to edit portraits may elevate your photos, whether you love taking pictures of your loved ones or are an avid photographer. This in-depth manual will walk you through the fundamentals of portrait editing, enabling you to turn your images into breathtaking pieces of art that will awe your audience.
Step 1. Import Your Photos
You must first upload your images into the editing program of your choice, such as Adobe Photoshop, Lightroom, or even the editing apps on your iPhone or other smartphone before you can start the portrait editing process. When the images have been imported, you may begin personalizing them according to your preferences.
Step 2. Adjust the Exposure
When retouching portraits, getting the perfect amount of brightness and contrast is essential, and changing exposure is the first step in getting there. The proper exposure may significantly alter the appearance of your shot, whether it is too dark or too bright. A photograph that is properly exposed brings out the details, but one that is either overexposed or underexposed lacks the ideal brightness and contrast. Your editing program’s “Exposure” slider may be used to change the exposure settings.
Exposure is adjusted by sliding the slider to the left to lower it and to the right to enhance it. To get a natural and appealing appearance, the brightness and contrast ratio must be just correct. When utilizing your photograph for official purposes, such as a passport photo, adequate exposure is extremely important. The photo must have a neutral expression, be properly exposed, without any shadows or reflections, and fulfill passport photo specifications. So, you may ensure that your portrait meets the requirements for legal papers by making sure it is exposed properly.
Step 3. Crop and Straighten
You may trim and straighten the shot after adjusting the exposure. In order to concentrate on the subject, a photo is cropped when extraneous elements are removed. When a photo is straightened, any tilt that resulted from the camera being slightly tilted when the picture was shot becomes fixed. These modifications might assist in giving your image a polished, expert appearance.
Step 4. Color Correction
Color correction is a crucial step in editing portraits photo. It plays a significant role in achieving a balanced and natural look for your image. When it comes to color correction, you have several options at your disposal. Using the “Hue” slider in your editing software, you can shift the overall color tone of the photo to make it more warm or cool. Similarly, the “Saturation” slider can be used to intensify or reduce the vibrancy of colors in the image. Additionally, the “Luminance” slider can be utilized to adjust the brightness and darkness of specific colors in your photo.
These color correction techniques can be employed to enhance the image’s aesthetics, giving it a more pleasing and natural appearance. Proper color correction is essential, especially for official photos like passport photos. Such photos have to meet specific requirements like having neutral facial expressions and proper lighting. Thus, by applying color correction, you can improve the photo’s visual appeal and make it meet official standards.
Step 5. Remove Blemishes
No one has perfect skin, and that’s okay! But if there are blemishes or imperfections in your photo that you’d like to remove, you can use the “Spot Healing” or “Clone Stamp” tools in your editing software to remove them. Just be careful not to overdo it, as removing too much can make your photo look unnatural.
Step 6. Sharpen and Smooth
The final step to edit your portraits photo is to sharpen and smooth the photo. Sharpening can help bring out the details in the photo, while smoothing can help create a more flattering look. You can adjust these settings using the “Sharpen” and “Smooth” sliders in your editing software.
Bonus Tip: Passport Photo Requirements
There are precise guidelines you must adhere to if you need to take a passport photo. Passport photographs must be 2 inches by 2 inches, in color, and taken within the past six months. Your face must be in the middle and immediately facing the camera, and the backdrop must be white or off-white. For more information on passport photo requirements, check out the information explained here.
Conclusion on edit portraits
Editing portraits can seem daunting, but with the right tools and techniques, it can be a fun and rewarding process. By following these step-by-step instructions how to edit portraits may elevate your photos, whether you love taking pictures of your loved ones or are an avid photographer. , you can create stunning portraits that will impress your audience. And if you need to take a passport photo, remember to follow the specific requirements outlined by photobooth.online. Happy editing!
You can also read: Picasa Alternative: Free photo viewer for Windows 10