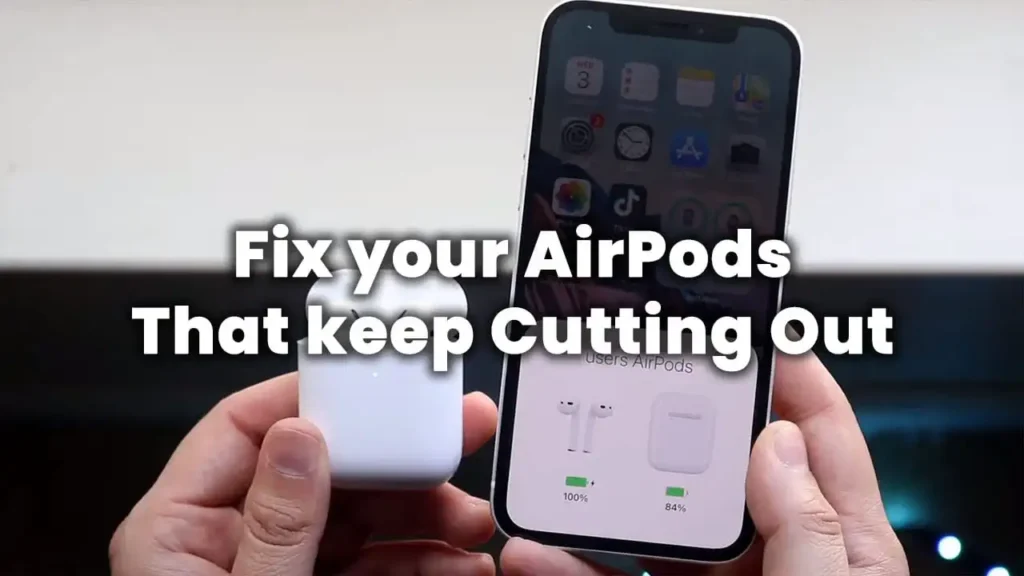
It’s annoying when your AirPods keep cutting out from your phone and you don’t know why? In this article, we will show the common causes and easy solution. This process often resolves any persistent bugs or issues causing your AirPods disconnect.
Why do my AirPods keep cutting out?
The first step is to find out the common causes of this annoying issue. We were able to determine that there are several reasons AirPods keep cutting out randomly. However, we were able to pin it down to four main reasons:
- Battery issues: Low battery levels can cause AirPods to disconnect.
- Software issues: Usually caused by a software update or accidentally changing a setting.
- Interference of signals: Wireless devices are prone to interference.
- Hardware problems: If there is a physical defect.
It can be very simple or very complex, depending on the cause. Let’s start with the simplest steps so you can move on!
Fix your AirPods that keep disconnecting
Here are some tips and tricks for Apple AirPods or AirPods Pro that may fix your connection issues. You can now follow these easy steps to stop the AirPods from constantly cutting out from your iPhone, iPad, or Apple Watch.
1. Check your AirPods battery.
AirPods frequently disconnect if you don’t realize how long you’ve been using them. Once their battery gets down to a certain point, they disconnect a lot.
Check the battery level
Open the lid of your AirPods case near your iPhone and you will be able to see the battery status. If either of the AirPods is low on battery, it is time to charge them.
You can try another option if you don’t have your AirPods case:
- To open the Battery widget, tap and hold on the home screen until the icons wiggle.
- Tap the “+” icon in the upper left corner to bring up the widget page
- Scroll down and look for batteries, then select “Add Widget“.
Now you can monitor the AirPods battery life and know before the battery drops to a critical level. This affects the sound and connection quality.
Charge your AirPods properly
Place your AirPods back in the charging case. Plug the case into a power source with the Lightning to USB cable that comes with your AirPods. If you have a USB-C power adapter, you can also use an Apple USB-C to Lightning cable.
When you need to know the battery level of connected headphones, you can ask Siri. Just say, “Siri, what’s the battery level of my AirPods?”
2. Disconnect and reconnect your AirPods
If the battery has enough charge, you need to check for any Bluetooth problems. Since the AirPods rely on Bluetooth to connect to your devices, it’s always a good idea to check for any Bluetooth-related issues. This is one of the main reasons AirPods don’t work.
Disconnect your AirPods
Unpair your AirPods once and reconnect them. This will also unpair AirPods from other devices connected to the same iCloud account. Here’s how to unpair Apple AirPods from your iPhone:
- Open Settings.
- Tap Bluetooth.
- Nowt tap the “i” button next to the AirPods in the list of devices.
- Tap on “Forget this device.”
Connect your AirPods again
To reconnect your AirPods to your iPhone, simply follow these steps:
- Make sure your iPhone is unlocked and showing the home screen.
- Place your AirPods in the case, lid open, and hold them next to your phone.
- A setup animation will appear.
- Tap on the “Connect” option.
- A setup animation appears on your iPhone.
- Tap “Connect” and complete the setup process.
3. Disable automatic Ear detection
The automatic Eear detection is a useful feature. If you take the AirPods out of your ear, the sound stops. If you put them back in, the music start plays. There’s also a problem with this feature, so if you’re annoyed by random disconnects, you should disable this feature. Here’s how:
- Go to Settings on your iPhone.
- Select ‘Bluetooth‘, find your AirPods on the list.
- Tap the ‘i‘ icon next to them.
- Then toggle off the ‘Automatic Ear Detection‘ switch.
The automatic device switching feature in iOS 14 allows AirPods to switch between Apple devices connected to them automatically. This is great if you have multiple Apple devices at home.
4. Set Connection Preferences
Set your AirPods to always connect to your iPhone if you mostly use them with your iPhone. This will help maintain a consistent connection and prevent your AirPods from connecting to other devices.
If you want this preference, go to Settings on your iPhone, select ‘Bluetooth’, find your AirPods on the list, tap the ‘i’ icon next to them, then select ‘When Last Connected to This iPhone’.
5. Keep Your AirPods Close
Your AirPods need to be close to your iPhone or their charging case for a strong Bluetooth connection. If they are too far away, the Bluetooth connection might get weak, causing disconnects.
Store your AirPods in their charging case when not in use. This keeps them safe and helps maintain a good Bluetooth connection.
6. Turn off your Wi-Fi for a short time.
If the disconnection issue occurs on a particular device, you should turn off the Wi-Fi on that device. When you turn it off, you’re testing to see if it fixes the problem. If it’s the Wi-Fi problem, you’ll have to turn it back on again.
If you found out that the Wi-Fi was causing the issue, reduce the distance between the AirPods and the device. Also, check if the AirPods are near microwaves, baby monitors, or wireless cameras. If you want to use them for a long time, keep them clean.
7. Update the AirPod firmware.
The AirPods may also disconnect occasionally if their firmware is outdated. To check if your AirPods have an updated firmware, follow these steps:
- Connect your iPhone to your AirPods and make sure they’re in their case.
- Open the settings
- Tap “General” and then tap “About.”
- Scroll down and select the AirPods you’re connected to.
- You’ll now see the firmware version and details about the AirPods.
- Plug a cable into the charging case to update the firmware.
- Put the case next to your iPhone for a while.
- There’s no way to force AirPods to update their firmware.
It should automatically install the latest update if there’s a new software version available. If your AirPods continue to have the same connectivity issue, it’s time for more drastic steps.
8. Restart your iPhone or iPad
If there’s an unknown issue, restarting the iOS device will fix it. The easiest way to do this is to access:
- Settings > General and select the Shutdown option.
- Then slide the slide to power off control and wait a few seconds for the terminal to turn off.
- Once it’s off, press the power button on the side of the terminal, wait for iOS to be available again, and unlock it.
If you’ve tried the steps in this tutorial and still can’t fix AirPods that keep disconnecting and reconnecting, we recommend taking them to a technician. There’s probably some software problem they’ll need to fix.
9. Factory reset your AirPods
After trying all the above steps and your AirPods keep disconnecting, a factory reset might be necessary. It will erase all the settings on your AirPods and make them like new.
How to factory reset
To perform a factory reset, follow the instructions below:
- Hold the setup button on the back of the charging case until the status light flashes amber, then white.
- This process should take about 15 seconds.
Once you’ve reset your AirPods, you’ll need to set them up again.
Conclusion
Hopefully, now you can use Apple’s wireless headphones again. We’ve tried to address most of the causes and solutions in this article. If you still have connectivity issues, you should take advantage of company’s excellent customer service. You might also get a new pair of headphones if there is a hardware defect.
Related articles you can also read: Activate NFC in iPhone & How to use it correctly