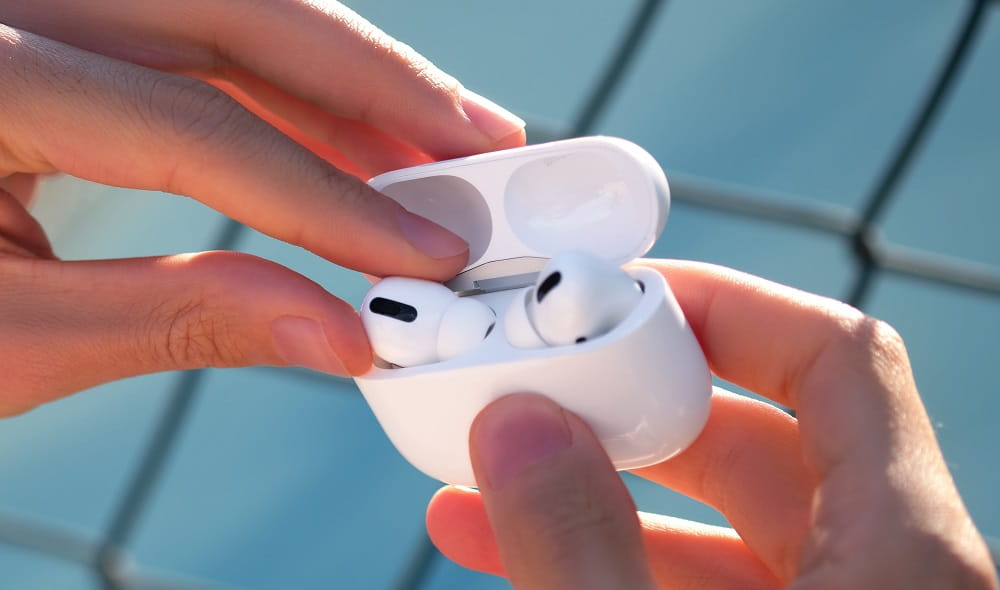
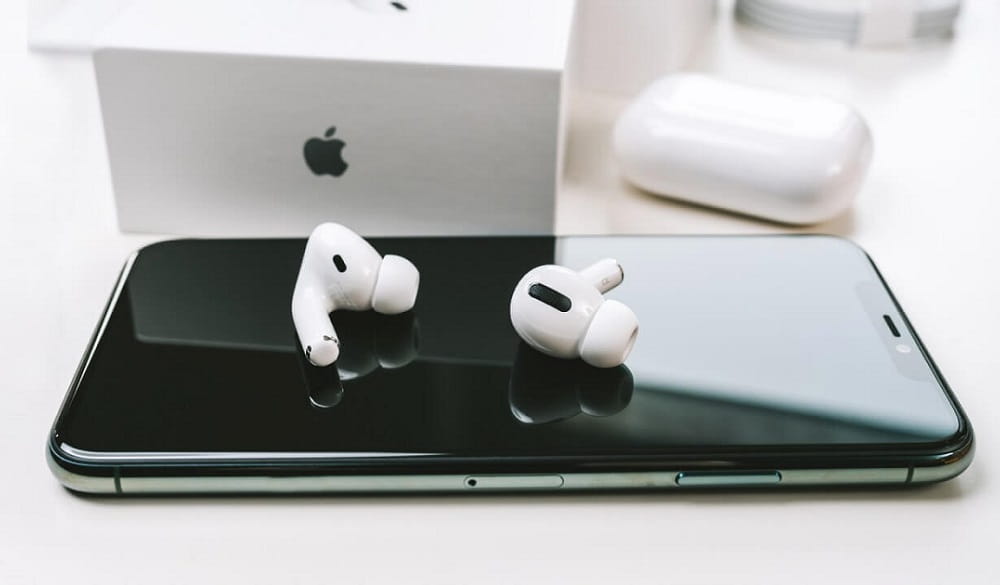
An orange light flashing on your AirPods case doesn’t automatically mean something is wrong. What it means depends on the pattern. A brief flash or pulse that stops on its own is often just the case reporting battery status, and on recent AirPods models it’s a reminder to charge. Amber that keeps flashing, especially when the AirPods won’t connect or won’t charge properly, is the version that needs fixing. It usually comes down to pairing or charging contact.
Apple calls the color amber, so you’ll see both names. The table below shows which situation you’re in and where to go next.

Which Amber Light Are You Seeing?
| What you see | What to do |
|---|---|
| Steady amber | Nothing. There’s less than a full charge, which is normal while charging. |
| A brief amber flash or pulse that stops | Usually a battery reminder on newer models. Charge the case. See what the light means. |
| Amber keeps flashing and one or both earbuds won’t charge | Check charge, seating and contacts first. Start with steps 1 to 3. |
| Amber keeps flashing and the AirPods won’t connect | Treat it as a pairing problem. Go to the connection fixes. |
| Still flashing after a reset and a fresh setup | Self-troubleshooting has likely run its course. See when to contact Apple. |
What Does a Flashing Orange or Amber Light on AirPods Mean?
When the AirPods are in the case and you open the lid, the status light shows the AirPods’ charge. When they’re out of the case, it shows the case’s own charge. On most models the light sits on the front of the case. The original Lightning Charging Case for AirPods 1 and AirPods 2 has it inside, between the earbud wells.
A steady amber light is normal. It means less than one full charge remains, so you’ll see it any time the case or earbuds are charging and not yet full.
Recent models also use amber as a battery prompt. On AirPods 4, AirPods 5, AirPods Pro 2 and AirPods Pro 3 running the latest firmware, the light briefly pulses amber when the earbuds or the case are below 95% charged. It briefly flashes amber when the earbuds are below 95% and the case is below 25%. Both are short, normal signals telling you to charge. Apple’s AirPods charging guide shows what each pattern looks like. Older models, or models on older firmware, may not behave this way.
Amber that keeps flashing is a different situation, and Apple’s current documentation doesn’t define it as a specific error. Earlier versions of Apple’s charging guide said a flashing amber light could mean the AirPods need to be set up again. Apple’s current fix for AirPods that won’t connect is to re-pair them, then reset if that fails. If the amber keeps flashing alongside a charging or connection problem, treat it as that problem rather than as a battery reminder.
One amber flash is expected: during a reset, the light flashes amber and then white. That sequence means the reset worked.
Why Are My AirPods Flashing Orange?
When the flashing doesn’t stop, the cause usually falls into one of these groups:
- An earbud that isn’t charging. Debris on the metal contacts, an earbud that isn’t fully seated, or a case with an empty battery can stop power from reaching one or both earbuds.
- A broken pairing. The AirPods and your device no longer agree on the connection. This can follow a failed connection, frequent switching between devices, or replacing one earbud or the case.
- Low battery on newer models. On AirPods 4, AirPods 5, AirPods Pro 2 and AirPods Pro 3, a short flash may simply be the battery prompt described above.
- Moisture. Sweat or water on the earbuds or contacts can interfere with charging, although an amber light on its own doesn’t mean water damage. If your AirPods have been wet, Apple’s sweat and water guidance says to wipe them with a soft, dry, lint-free cloth. Then let them dry completely, for at least two hours, before putting them back in the case; our guide on how to get water out of AirPods covers this in more detail. Don’t use heat or compressed air.
- A hardware fault. This is worth considering only after the steps below have failed.
How to Fix AirPods Flashing Orange
The order matters. Charging problems are the easiest to rule out and can look like pairing problems, which is why Apple’s own connection guide starts by making sure both AirPods are charging. Pairing comes next, and the reset comes later because it removes the AirPods from your devices. Firmware is last because the AirPods have to be connected before they can update.
- Charge the case, then check the battery levels. Plug the case in using a cable and power adapter you know work, with the AirPods inside and the lid closed. Give it a while to charge (here’s how long AirPods take to charge), then check the levels in Settings > Bluetooth by tapping the Info button next to your AirPods. If the flashing was a battery prompt, it should stop once the levels recover. If one earbud stays low while the other climbs, that earbud isn’t making proper contact, and our guide on how to check AirPods battery shows other ways to confirm it.
- Reseat both earbuds. Take them out and drop them back in. The magnets should pull each one fully into its well. If one sits high or wobbles, something is in the way.
- Clean the charging contacts. Dirt on the contacts is a common reason an earbud won’t charge. The safe method is below, and our guide on how to clean an AirPods case and charging contacts goes into more depth. If one earbud still won’t charge after this step, re-pairing and resetting are unlikely to help; skip ahead to when to contact Apple.
- Check your device. Update your iPhone, iPad or Mac to the latest software and make sure Bluetooth is on. Then open Control Center, tap the AirPlay button, and check whether your AirPods are listed and selected. Restarting your device at this point is also worth a try.
- Put the AirPods in pairing mode and reconnect. If the AirPods are listed but won’t connect, forget them first: in Settings > Bluetooth, tap the Info button next to them, then tap Forget This Device. Then put them in pairing mode and hold the open case next to your device. The details are in the connection section.
- Reset the AirPods. Do this only after pairing has failed, or if a charging problem remains after the earlier steps. The procedure differs by model and is explained below.
- Update the firmware. Once the AirPods are connected again, make sure their firmware is current. Updates install automatically while the AirPods are charging in their closed case near a Wi-Fi-connected iPhone, iPad or Mac. If they haven’t updated, connect the case to power, keep the lid closed and the AirPods in range, and wait at least 30 minutes. Then check the version in the About section of your AirPods’ Info screen. Apple’s AirPods firmware update guide lists the current versions, and our guide to updating AirPods Pro firmware walks through the process.
Check the Charging Contacts
Each earbud charges through small metal contacts at the bottom of its stem. These touch matching contacts at the bottom of the wells inside the case. Pocket lint, earwax and skin oil build up on both sides, and a thin layer can make charging unreliable.
Wipe the earbud stems and the case, including the wells, with a soft, dry, lint-free cloth. Apple says you can dampen the cloth slightly with isopropyl alcohol for the case if you need to. Clear debris from the charging port only with a clean, dry, soft-bristled brush, and don’t push anything into the port. Keep liquid out of every opening, avoid abrasive materials, and let everything dry before you reseat the earbuds. Apple’s instructions for cleaning AirPods cover each part in more detail.

Reset the AirPods
A reset clears the AirPods’ pairing so you can set them up from scratch. Afterward, you’ll need to connect them to your devices again. Before you start, check which model you have using Apple’s guide to identifying your AirPods. Older cases have a setup button on the back, while the newest cases use taps on the front instead.
The first steps are the same for every model. Put both AirPods in the case, close the lid, and wait 30 seconds. If the AirPods appear under Settings > Bluetooth, tap the Info button next to them and choose Forget This Device. Then open the lid and follow the steps for your model:
- AirPods 1, 2 and 3, and AirPods Pro 1 and 2: Press and hold the setup button on the back of the case for about 15 seconds, until the light flashes amber and then white.
- AirPods 4, AirPods 5 and AirPods Pro 3: Double-tap the front of the case while the light is on. Double-tap again when it flashes white. Double-tap a third time when the flashing speeds up. The light should then flash amber, followed by white.
Don’t confuse a reset with pairing mode. A short press of the button, or a single double-tap on newer cases, only makes the light flash white so the AirPods can pair. It doesn’t clear anything. A reset is the full sequence above, and it ends with amber followed by white.
When the light flashes white, keep the lid open next to your device and follow the on-screen steps. If the light doesn’t flash white, close the lid for 20 seconds, open it, and repeat the steps for your model; if it still won’t, see our guide to AirPods not flashing white. Apple’s guide to resetting AirPods includes short videos of both methods.

What If the AirPods Are Flashing Orange While Charging?
Start by checking whether the light is actually misbehaving. A steady amber light on the charger just means the battery isn’t full. On AirPods 4, AirPods 5, AirPods Pro 2 and AirPods Pro 3 with current firmware, a brief amber pulse or flash is the battery prompt, and it shouldn’t be treated as a fault.
Wireless charging adds some confusion. When you place the case on a charger, the light shows the charge level for about eight seconds and then turns off, even though charging continues. Some models let you check charging progress by tapping the case while it’s on the charger: amber means the AirPods are still charging and green means they’re full. These models are AirPods Pro 1, 2 and 3, AirPods 3, AirPods 4 with Active Noise Cancellation, and AirPods 5 with the Wireless Charging Case.
AirPods Pro 3 also have Optimized Charge Limit, which can stop the battery short of full based on how you use them. If the earbuds never reach a full charge, this feature may be the reason rather than a fault. You can turn it off under Battery in your AirPods settings.
The real warning sign is flashing that continues while the case is plugged in and the charge isn’t rising, or one earbud that never charges, which our guide to an AirPods case not charging covers in more detail. Work through steps 1 to 3 above and try a different cable or charger before moving on to pairing or a reset.
What If AirPods Are Flashing Orange and Won’t Connect?
This is the classic version of the problem, and it usually comes down to pairing. Once you’ve confirmed that both earbuds are charging, follow Apple’s steps for AirPods that won’t connect:
- Update your device’s software, make sure Bluetooth is on, and check the AirPlay list in Control Center. If the AirPods are there, select them and play some audio to test.
- If they aren’t listed, or are listed but won’t connect, put them in pairing mode with the earbuds in the case and the lid open. On older cases, press and hold the setup button until the light flashes white. On AirPods 4 and AirPods Pro 3, double-tap the front of the case until it flashes white.
- Hold the open case next to your device and follow the on-screen steps.
- If they still won’t connect, reset them using the steps for your model.
Two situations need extra care:
- A replacement earbud or case. Put both earbuds in the case, connect it to power, close the lid, and wait 20 minutes before setting up. If the light doesn’t then flash white, reset. Also check that the case and earbuds are matching models; for example, AirPods 4 earbuds don’t work in the AirPods 4 (ANC) case. Apple’s guide to setting up replacement AirPods covers the full process.
- Secondhand AirPods. If they’re still linked to a previous owner’s Apple Account, that person has to remove them before the AirPods can be added to yours. Apple can’t remove the link for you.
Android phones and Windows PCs don’t show a setup card. Put the AirPods in pairing mode as described in step 2, then select them in that device’s Bluetooth menu.
When Should You Be Concerned About the Orange Light?
A flashing amber light on its own isn’t a reason to worry. It becomes one when the documented fixes stop working. Self-troubleshooting has probably reached its limit if:
- the light keeps flashing amber after charging, cleaning, a reset and a fresh setup
- the reset never gets past amber to white, even after repeating it
- the case won’t charge from any of several cables or chargers
- one earbud never charges, even when it sits firmly in its well and its contacts are clean
- there’s visible damage or signs of liquid inside the case
At that point, contact Apple Support or an Apple Authorized Service Provider. Apple can replace a single earbud or the case. Whether it’s covered depends on your warranty, AppleCare+ or consumer law, and there’s a fee otherwise. Bring both earbuds and the case so they can be tested together.
What About Other AirPods Light Colors?
Only a few other states matter when you’re dealing with an amber light:
- Steady green: The AirPods (when they’re inside with the lid open) or the case are fully charged; a blinking green light is a different signal, covered in our guide to AirPods blinking green.
- Flashing white: The AirPods are ready to pair. White after amber means your reset or setup is working.
- No light at all: The AirPods or case may need charging before you can use them.
For every light pattern in one place, see our guide to AirPods light colors.
Frequently Asked Questions
On supported newer models, a brief amber flash can be a low-battery reminder. If the flashing continues, especially when an earbud isn’t charging or the AirPods won’t connect, check charging first and then re-pair.
A steady orange (amber) light means less than one full charge remains in the AirPods or the case. It’s normal, especially while charging.
On newer models, a short blink can mean the battery is still below 95%. If the blinking continues and the charge isn’t rising, check that each earbud is seated and its contacts are clean, then try another cable or charger.
No. Charging shows as a steady amber light, and on a wireless charger the light turns off after about eight seconds while charging continues.
Often, if the cause is a broken pairing. A reset won’t fix dirty contacts, a drained case or a hardware fault, which is why charging and cleaning come first.
Bottom Line
A brief amber flash is usually just the case asking for a charge. If the light keeps flashing, charge the case, make sure each earbud sits firmly in its well, and clean the contacts. Then put the AirPods back in pairing mode and reconnect, and reset only if that fails. If a reset never brings the light to white, or an earbud never charges, the problem is likely hardware, and Apple Support is the next step.